Introduction
Just like any other craft, coding takes months or even years to master. Therefore, it is challenging to make businesses and testers go through a bunch of codes and fix lots of errors in applications. Codeless automation testing tools is the perfect solution to this challenge. In a nutshell, codeless test automation involves making automated tests without the need to write or understand a single line of code. With this, anyone even with no programming skills will be able to test websites and applications seamlessly.
WordPress is a very common codeless tool for building websites. With WordPress, many businesses have built functional websites that have helped in boosting revenue. Won’t it be an excellent opportunity to have a codeless test automation tool to test a website built by a codeless tool like WordPress? Your answer is as correct as ours; it’s a defining moment in the technological world as we now have several codeless test automation tools for this purpose. One of the most amazing among these no code tools is Testup.
Testup is simple to use and user-friendly. It also allows you to maximize test reliability. Read on to see a practical process of how you can use Testup for a website built with WordPress.
Testing a WordPress Website with Testup
To do this testing, we need a website built with WordPress. Therefore, we have developed a website called Jamiu Marketplace using the WordPress no code tool. The website is shown in figure 1 below.

It’s time to test the website using the Testup no code automation tool. First, register on Testup and log in; afterwards, click on Go to App at the top right-hand corner. Then, click on Create Project and subsequently, Create Test.
Under settings, you will be required to fill in details like the URL and name of the test. For our WordPress website, the details have been filled, as shown in Figure 2 below. Let’s name the test ‘WordPress Test’.
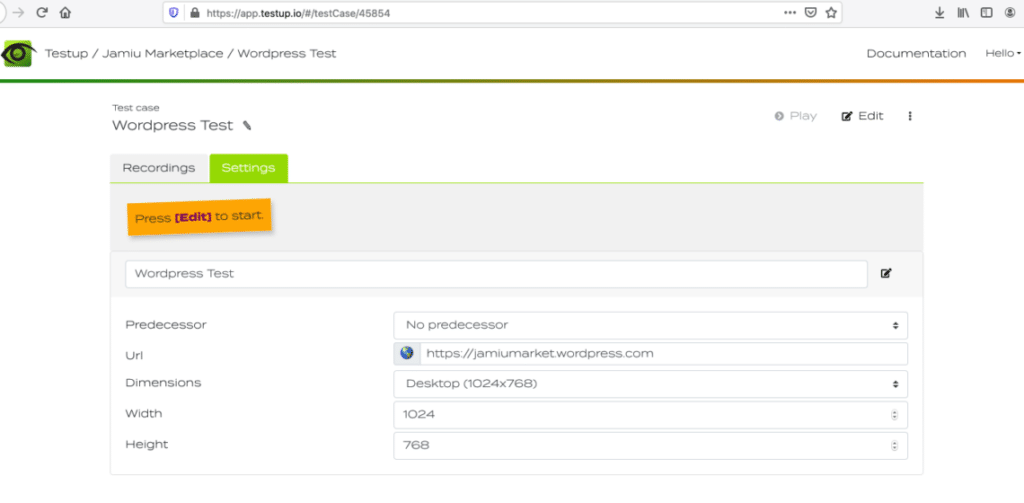
After filling the details, the next thing is to click Edit to start testing.
Testing Jamiu’s Marketplace
After clicking Edit, the testing page will appear, as shown in Figure 3. Here, you will see the browser window of Jamiu Marketplace on the left-hand side of the editor. On the right-hand side, you will see a list of checks and inputs.
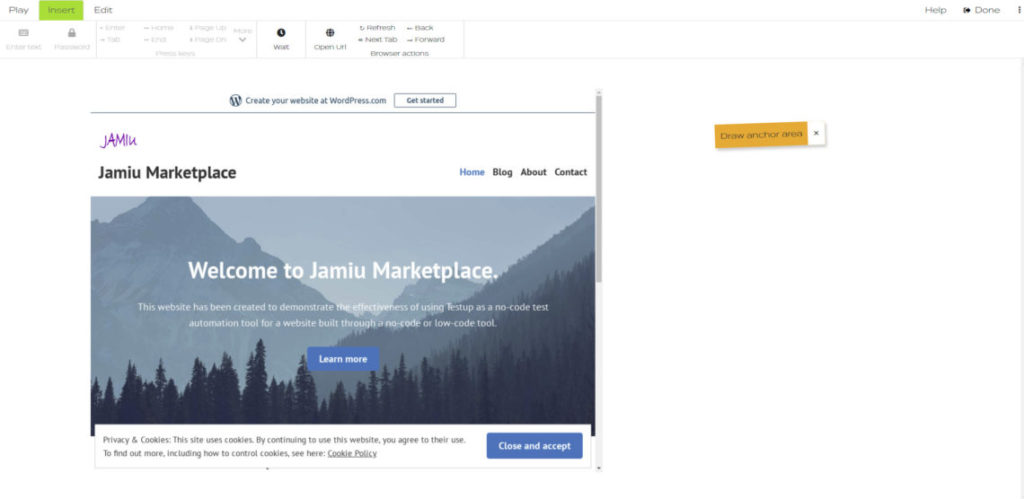
To check if the website is correctly loaded and to allow us to move on to the next action, we will select an anchor area. Anchor areas can be quickly recorded by selecting a desired area with the mouse. This is shown in figure 4.
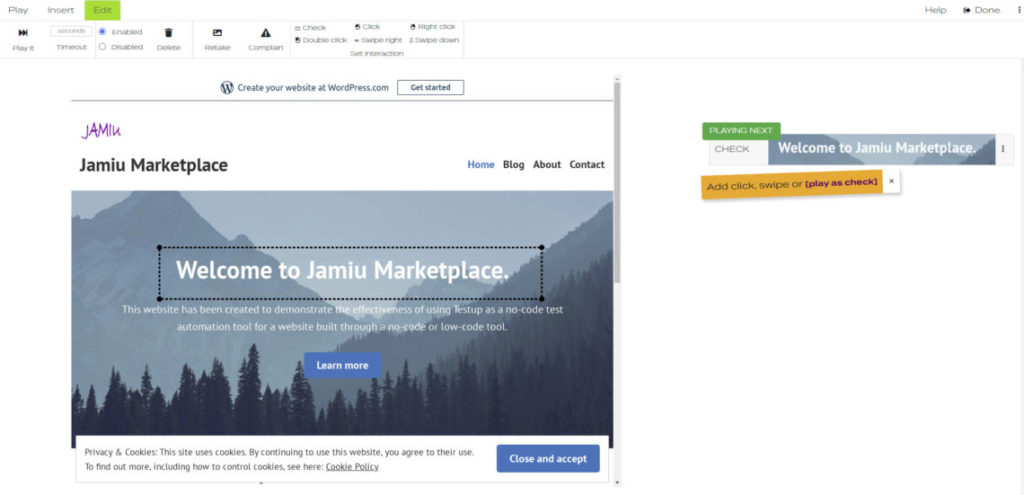
Click the play as check button to carry out the check. Afterwards, you can move on the next check. If the Testup AI finds every area you record, then the page is good.
Testing Clickable Buttons
You can also use Testup to test if a clickable button is working. First is to ensure that the particular button is visible on the website. To do this, select an anchor area that covers the button. After that, click on the selected area; a circle icon with a plus sign will appear on it as shown in figure 5.
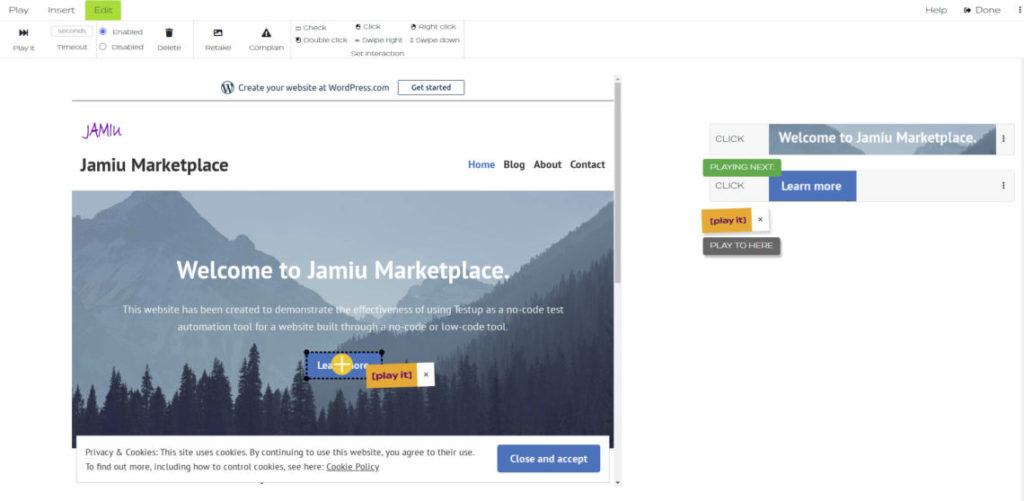
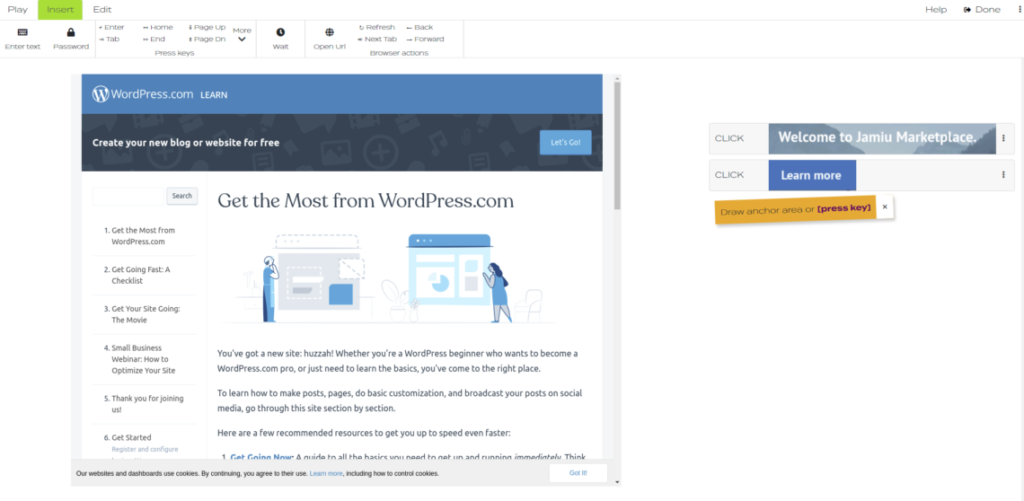
Clicking on the play it button will search the circle icon and click it. The result is shown in figure 6, which shows that the Learn more command on Jamiu Marketplace is working.
Conclusion
No code test automation is growing at an exponential rate. Having read this article, you will realise that Testup gives every tester a significant relief from the burden of mastering complex testing codes or frameworks. Visit Testup today to get started without any delay.


